Memory is one of the basic elements of a computer. It has several components: RAM (Random Access Memory), ROM (Read-only Memory), and cache. If the PC is not using memory efficiently, it may run into issues such as freezing when you are running a resource-intensive program (eg. games or video editing software). While there is little you can do immediately about the physical memory of your PC, there are a number of fixes you can try if memory usage seems too high. But first of all, you need to be sure that this is really what’s causing the problem.
Determine high memory usage
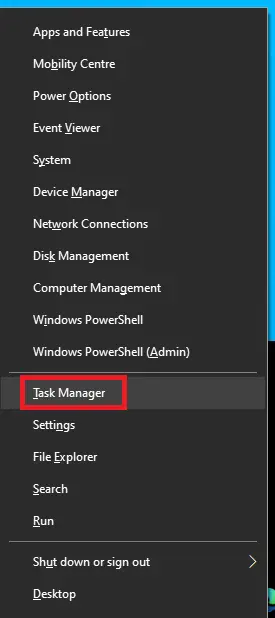
- Press Windows + X and choose Task manager.
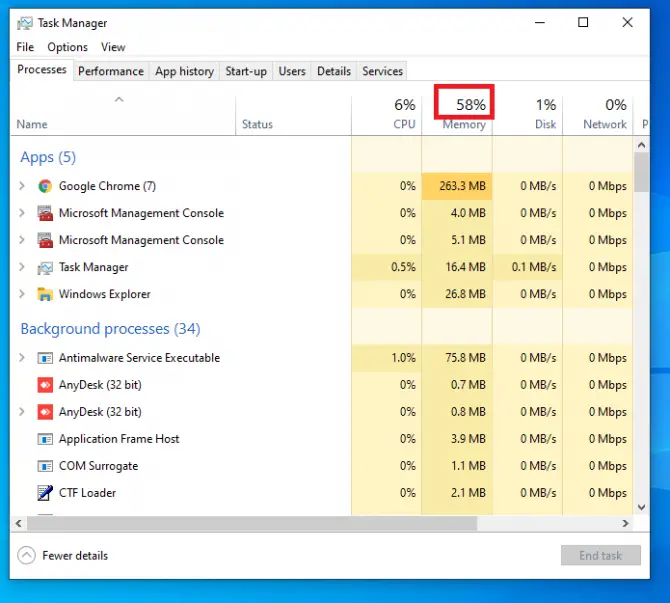
- You will see a list of all the apps you’re running. Look at the Memory percentage. If it is consistently above 90%, you have a problem.
If it is high memory usage you are trying to fix, try the following methods in order.
Close unnecessary apps
- Press Windows + X and choose Task manager.

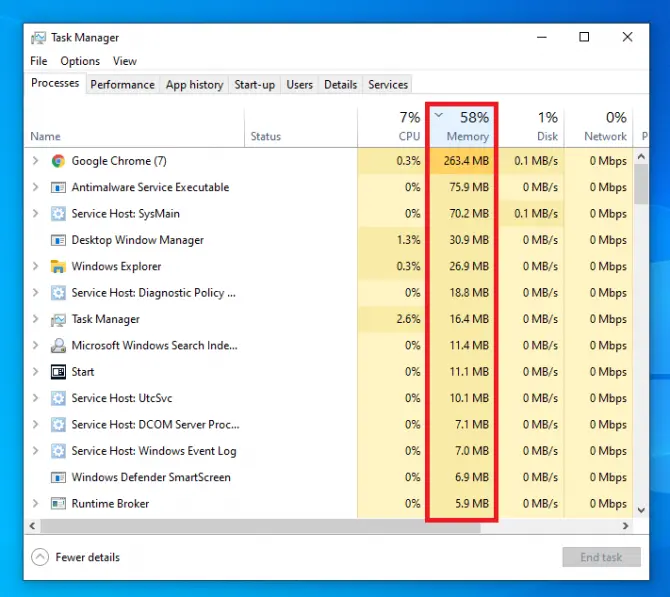
- Order apps according to memory usage by clicking on Memory up top.
- If there are any apps there that you don’t need right now, click on them and select End task.

Disable startup of unnecessary apps
- Open Task manager.
- Click on the Startup tab. Here, you can see all the programs that launch when you start up the computer.
- If there are any you don’t need, right-click them and choose Disable.

Disable Superfetch
Superfetch (recently renamed Sysmain) is a service that allows apps to start while using much less memory than they normally would. While this is very helpful if you have a traditional (HDD) hard disk, if you have SSD installed, it is more of a hindrance. You can disable it in the following way.
- In the Search bar, type “services.msc” and click Run.

- Scroll down, find Superfetch, right-click it and select Stop.

Increase virtual memory
Virtual memory is actually a rather large file called PageFile.sys, which is just sitting somewhere on your computer (possibly on the system partition), taking up space. You can do a number of fixes to troubleshoot this file.
- In File Explorer, right-click This PC and select Properties.

- This is where you can also find the size of your physical memory. Remember that number. Click on Advanced system settings.

- Under the Advanced page, find the Performance box, then click Settings.

- On the Advanced tab, find the Virtual memory box, then click Change.

- Uncheck Automatically manage paging file size for all drives, select C:, then check No paging file, click Set, then acknowledge the warning by clicking Yes in the window that pops up.


You have now stopped the virtual memory on your system partition, but you need to create it on a different partition.
- Choose the partition you want, then click Custom size. Set both Initial size and Maximum size to the same value, eg. 1.5 times the size of your physical memory. Click Set, then OK.

Set registry tweak
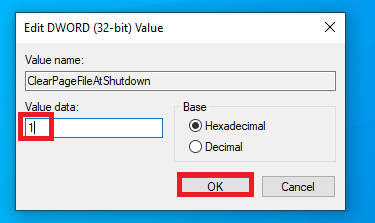
This is a procedure to delete the page file every time the computer is shut down.
- Type “regedit” in the Search bar and click Open.

- Navigate to HKEY_LOCAL_MACHINE > SYSTEM > CurrentControlSet > Control > Session Manager > Memory Management. Locate ClearPageFileAtShutDown, right-click it, then set its value to 1. Click OK to save.

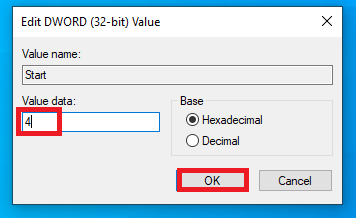
Once you are in Registry editor, you might as well rein in NDU.sys. This is a small, relatively harmless Windows driver, but some users report it can cause RAM usage to spike.
- Navigate to HKEY_LOCAL_MACHINE > SYSTEM > ControlSet001 > Services > Ndu. Find the Start DWORD file, right-click it, choose Modify, change its value to 4, then click OK.

- Restart your computer to apply the changes.
If this did not decrease the memory usage significantly, there are a couple of fixes you can still try.
Defragment hard drives
Another way to free up some memory is to defragment your hard drive. Windows has a built-in tool to help you do that.
Note: Only defragment traditional HDD drives. SSD drives don’t need defragmenting.
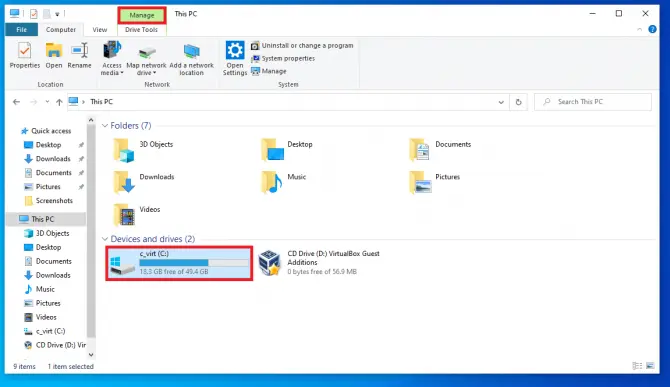
- In File Explorer, select C:, then click Manage in the toolbar.
- Choose Optimise.

- In the window that pops up, select C: again, then click Optimise.

- The defragmentation tool will start.
Once the defragmentation is complete, check memory usage again. If the issue persists, some of the apps you are using might be responsible. We will take them one by one and make sure they are not using more memory than they need to.
Check your antivirus
The extreme memory usage might be caused by malware. Windows has a built-in antivirus called Windows Defender. It’s worth running a check-up.
- Press Windows + I, then select Update&security.

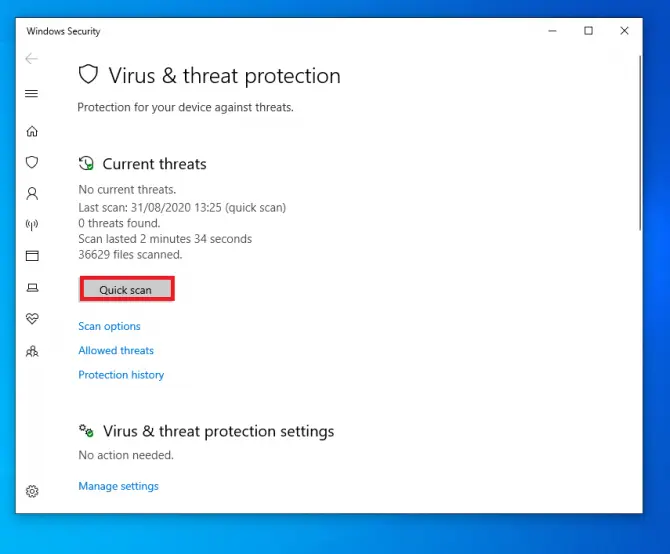
- Under Windows Security, click Virus & threat protection.

- Click on Quick scan.
However, sometimes it’s Windows Defender itself that causes high memory usage. If that is the case, you can end the task in Task manager, as shown in the first solution.
Chrome-specific solution
Chrome is a great browser, but it can eat a lot of memory, if you have several tabs open at once. There are 2 ways to solve this problem.
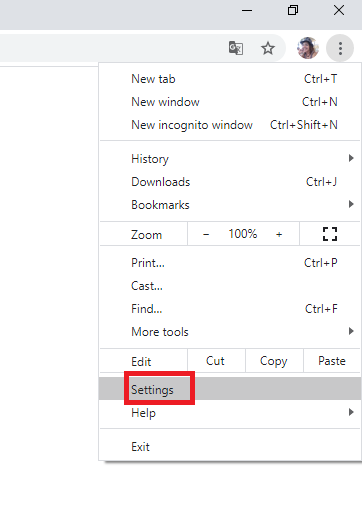
- Click on the Menu button, then choose Settings.
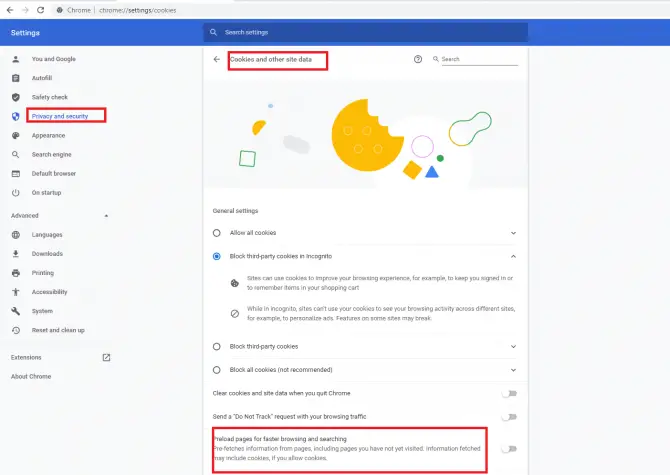
- Under Privacy and security, click on Cookies and other site data.
- Uncheck “Preload pages for faster browsing and searching”.
Or alternatively:
- Add the One Tab extension. This will group all your tabs into one list, decreasing memory usage.
Adjust for best performance
- In File Explorer, right-click This PC and select Properties.

- Click on Advanced system settings.

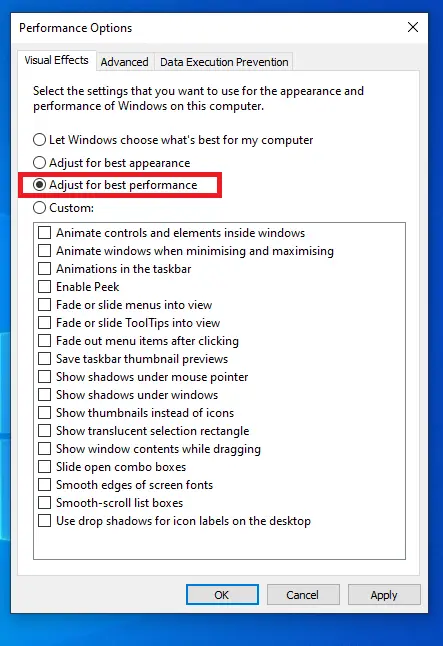
- Under the Advanced page, find the Performance box, then click Settings.

- Check Adjust for best performance, click Apply then OK.
This should optimise your memory usage. If this didn’t help, you may need to reset or reinstall your PC.
Reset PC or reinstall Windows 10
If none of the above solutions worked, you may need to reinstall your Windows or reset your PC. Make sure to back up your data before you do that.
Warning: This is a rather drastic method. You will lose all apps and software, but you will keep your files and data.
To reset your PC:
- Press Windows + I to enter into Settings, then choose Update&security.

- On the Recovery tab, under Advanced startup, click on Restart now. The computer will restart and you will end up on the Advanced startup screen.

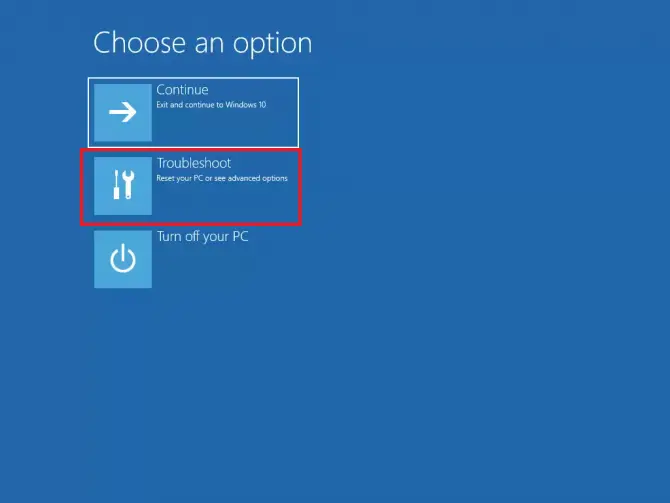
- Select Choose an option, then Troubleshoot.
- Choose Reset this PC.

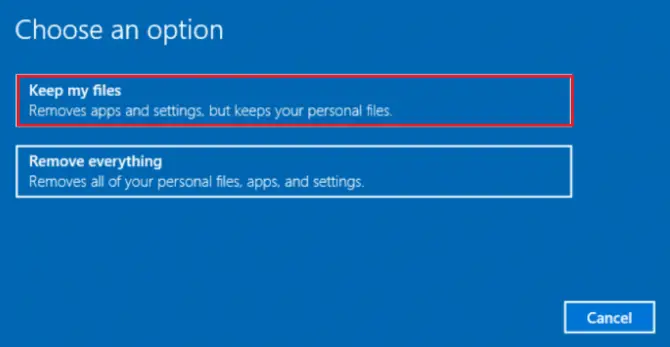
- Choose between keeping your files or removing everything.
- The reset will complete by itself.
If this didn’t help, you can try to reinstall Windows. Make a backup of all your files and data before you proceed!
- Go to Microsoft’s site and click on Download tool.

- When prompted, choose Save and save the MediaCreationTool1903.exe file.
- Run the file.
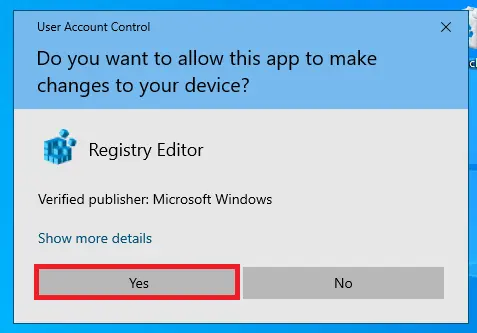
- Click Yes, if User Account Control is asking you to confirm.

- Click on Accept to accept terms and conditions.

- Choose Create installation media (USB Flash Drive, DVD or ISO file) for another PC then click Next.

- Select the correct language, architecture, and edition of Windows 10 then click Next.

- Choose USB flash drive then click Next.

- Select USB flash drive (or click Refresh drive list if it’s not visible). Click Next, wait until the media is completed, then click Finish.

Your bootable USB is now ready. We need to change the boot order in order to install from this when starting up.
- Press Windows + I to open Settings. Choose Update&security.

- Select Recovery. Under Advanced startup, click Restart now.

- On the screen that comes up, click Troubleshoot.

- Choose Advanced options.

- Choose UEFI Firmware settings.

- Click Restart.

- Under Boot settings, click Change boot order. Arrange them so USB is the first.

- Click Save settings.
Now we are ready to start the installation. Disconnect all unnecessary peripherals (printer, mouse, keyboard etc.), plug in the installation USB and start the computer.
- Press any key to boot.
- When the Windows setup window appears, click Next.

- Click Install now.

- On the next dialog box, choose I don’t have a key, since you have already activated this computer before and you are going to use the same product license. Click Next.

- Select the edition of Windows you have, then click Next.

- Check the box next to I accept the license terms, then click Next.

- Choose Custom: Install Windows only (Advanced).

- Select the Primary drive (usually called Drive 0), and click Delete. This is so that the setup can use the entire drive. If it has multiple partitions, delete them all; Windows will create the necessary partitions.

- Select the empty drive (Drive 0 Unallocated Space), then click Next.

The installation will run now.
Conclusions
High memory usage can have a number of causes, therefore we need to attack the problem from multiple angles. Hopefully one of the above methods was helpful for you.