When it comes to making your Windows 10 computer run quickly and efficiently, there is only so much temporary cleaning you can do. While you can uninstall applications that you do not use, or do a clean wipe of Windows 10, there is still going to be bloat. By bloat, we mean preinstalled applications and settings that the average computer user doesn’t know how to remove. In this guide, we will explain what tools you can use to debloat Windows 10, and show you how to safely use a Windows 10 debloater tool. Ready for an increase in performance and privacy? Keep reading!
A Brief Background of What is PowerShell
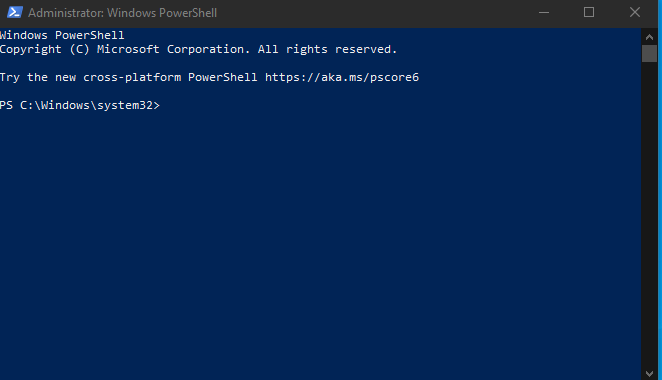
The PowerShell application on your Windows 10 computer is a cross-platform task automation solution that combines a command-line shell, scripting language, and a configuration management framework for accepting and returning .NET objects. PowerShell has quite a robust command-line history, a pipeline for chaining commands together, in-console help system, and more.
The PowerShell language used for scripting is a high-level proprietary programming syntax that was created by Microsoft to allow system administrators (you) to automate certain actions and configurations. Though PowerShell can be used for a wide variety of functions, most beginners use it to handle large batches of files, set up new machines in a network, and automate processes for updating security, granting new user access to shared files, or creating backups. In our case, we are going to use one of the available PowerShell scripts to debloat Windows 10.
What Windows 10 Debloater PowerShell Scripts Do
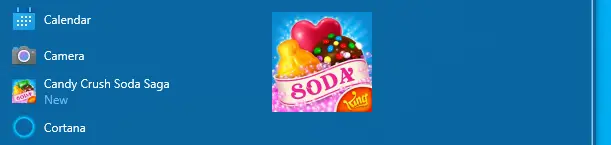
The PowerShell scripts you are going to read about below are designed to uninstall and remove pre-installed applications on Windows 10 that are not useful to you. For instance, maybe you absolutely loathe Cortana, hate that OneDrive always tries to connect, or don’t want that Candy Crush Soda Saga from King on your Windows Start Menu Tiles. And when you went to uninstall these, you found that you couldn’t, right? A PowerShell script can get rid of these for you.
These scripts can also disable telemetry functions, which is data that includes information about system diagnostics. For instance, your Windows 10 computer will track how frequently you use certain features, applications, system files, and collect information on security data from Windows Defender. While you do have some say over what telemetry data is collected, you cannot turn it off completely; unless you use a PowerShell script.
Now that we know the basics of what these PowerShell scripts can do, let’s jump into a few that are available for download.
3 Windows 10 Debloater PowerShell Scripts
1. Windows10Debloater – Sycnex
This is a PowerShell script that debloats Windows 10 by removing pre-installed applications, ceasing some telemetry functions, disabling unnecessary scheduled tasks, and it stops Cortana from being used as your default search index. It can remove files such as: 3D Builder, Alarms, Microsoft News, Microsoft Sticky Notes, OneNote, Skype for Desktop, XboxApp, and much more. This particular script does have the option for a GUI (graphical user-interface) which makes it a lot easier to use for those who are new to PowerShell. You can view the GitHub repository here.
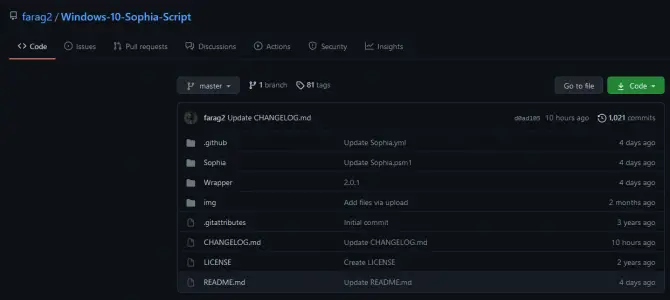
2. Windows 10 Sophia Script – Farag2
This is another powerful PowerShell module script that is designed for fine-tuning and tweaking Windows 10. If you are looking for a much more robust option than the Windows 10 Debloater tool above, this is the one. It includes over 150 functions, is routinely updated, and comes in a “GUI wrapper” for easier use. It allows you to set up Windows security, privacy, telemetry, uninstall unnecessary programs, change the location of default folders, and even create scheduled tasks for cleaning up unused files and updates. You can view the GitHub repository here. It is recommended that you use this after a fresh installation of Windows 10. An alternative option can be found here.
3. Debloat-Windows-10 by W4RH4WK
This is a collection of PowerShell scripts that can be used to disable or remove Windows 10 features and applications. It only works on Windows 10 Professional 64-bit and not Home Edition and only in English. In running this script, basic software components will remain installed, but all gaming-related applications and services will be disabled/removed. It is recommended that you use this after a fresh installation of Windows 10. You can view the GitHub repository here.
How to Safely Install and Use Windows 10 Sophia Script to Debloat Windows 10
In the steps below, we will explain how to install Windows 10 Sophia Script and provide a few basic steps for uninstalling apps.
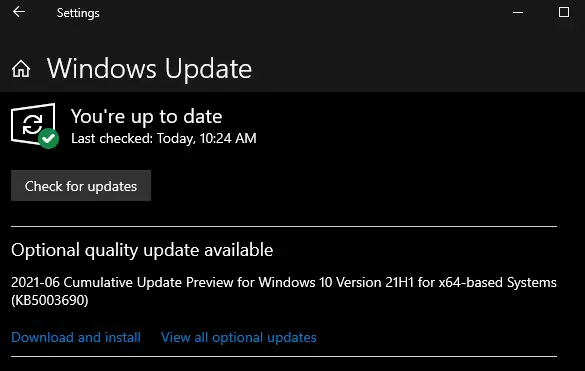
Step 1: Install the Latest Windows Updates.
Make sure that your Windows 10 PC is up to date with the latest updates. To check, type in “Windows Updates” into your computer search bar and click on the System Settings option under best results. Click the “Check for updates” button to see if there are any you need to download and install. If there aren’t, move on to the next step.
Step 2: Create a Restore Point.
When messing around with powerful command lines, it is always recommended to create a restore point first. This way, if you make any mistakes, you have the option to revert back to the previous state.
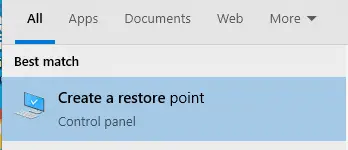
- In your computer’s search menu, type in Create a Restore Point.
- Click into the option it gives you under best results.
- Head to the System Protection tab and hit configure.
- Turn on system protection and choose your max usage.
- Click the create button and name it aptly. “Before debloat” or something similar.

Step 3: Check Your Windows Version.
In order to download the right version of the Windows 10 debloater tool, you need to know which version of Windows you are using. In your computer’s search menu, type in “WINVER” and a small window will pop-up. This will tell you which Windows version you are on – match it with the one on the GitHub repository.

Step 4: Download the Sophia Script and Extract.
Once you’ve matched up the right Sophia Script version with your Windows 10 version, download the script!

After it has downloaded, click on the download to “show in folder” and extract the file to your desktop by dragging it from the download window to your desktop. I have downloaded the Sophia.Script.LTSC.v5.2.8.zip as this works with 21H1 of Windows 10.

Step 5: Download NotePad++ [Optional]
If you plan on editing the preset file with your own command functions, then you will need to download NotePad Plus Plus to open the Sophia.ps1 file. If you are planning on just using the script to debloat Windows 10 of basic features and functions, you do not need to do this step. You can find NotePad ++ download here.
Step 6: Open Sophia.ps1 Preset File to Edit [Optional]
Once you have NotePad Plus Plus downloaded, you can edit the preset file. Just right-click the file and open it with NotePad.
Warning: Editing the preset file requires advanced knowledge of using command lines and editing the PowerShell scripting language, so only do this if you are confident in either a) following scripting instructions or b) fluent in PowerShell language.
Step 7: Run PowerShell As Administrator in the Sophia Script Folder.
In your Sophia Folder is on your desktop, there will be a “File” option in the top left-hand corner. Click it and choose to open Windows PowerShell as an administrator.

Step 8: Set Execution Policy Using the Command Line.
If this is your first time running a script, your Windows computer isn’t going to recognize this as a valid action. So, you may get an error that warns you about running the script.

You can bypass this with an execution policy command line. In the PowerShell tab that has opened up, type in: “Set-ExecutionPolicy -ExecutionPolicy Bypass – Scope Process -Force” and hit Enter.

Step 9: Run the Windows 10 Debloater Script.
Now, on the next line down in the PowerShell window, type in “.\Sophia.ps1” and hit Enter. This command line will run the preset script for you.
Step 10: How to Disable Scheduled Tasks You Do Not Need.
If you want to disable scheduled tasks, run the command line:
.\Sophia.ps1 -Function “ScheduledTasks -Disable”
Hit Enter.
This will pull up the scheduled tasks menu to the right of the PowerShell. Choose which tasks you want to disable by checking them, and then hit the big Disable button.

Step 10: How to Disable Windows Features You Do Not Need with the Debloater.
You would run the same kind of command line as in step eight, but for all of the Windows features you do not want. Let’s run this for 1 feature and then for multiple.
Let’s say you don’t want the Cortana button on your taskbar, you would type in: .\Sophia.ps1 -Function “CortanaButton -Hide”
Hit Enter.
This will hide the Cortana Button from your taskbar. No more accidental clicking on it!
Now, let’s say you do not want telemetry tracking and you want the gathered diagnostic data level to be minimal, you would type in:
.\Sophia.ps1 -Functions “DiagTrackService -Disable”, “DiagnosticDataLevel -Minimal”
Hit Enter.
Alternatively, you can use the “WindowsFeatures -Disable” command line to bring up a pop-up box that allows you to checkmark all the ones you want to disable.
Step 12: Debloat Background Apps, Main Folders, and Universal Windows Platform Packages.
Repeat the process for all of the above. We do highly recommend using the GUI version for this step, since it is much easier to move around within, for those who are completely new to PowerShell.
Note: Steps 8-11 show you how to disable features using the “old” command line way rather than the “tab” way. If you would prefer auto-completing tabs, you can view how to do this here, by scrolling down to the “how to run specific functions” section.
Wrapping It Up
And, that’s how you use a PowerShell script to debloat Windows 10.
If you are interested in using the GUI version of the Sophia Script, download the Sophia Script Wrapper.exe program from the repository, copy and paste the folders within it over to your original Sophia Script folder.
Rename the Sophia.ps1 (preset file) to Sophia-Original.ps1 so that it does not get overwritten by the new GUI version. Then run the Sophia Script Wrapper.exe program.

Now, instead of running command lines, you can use the radial buttons to choose what you want to disable or uninstall.